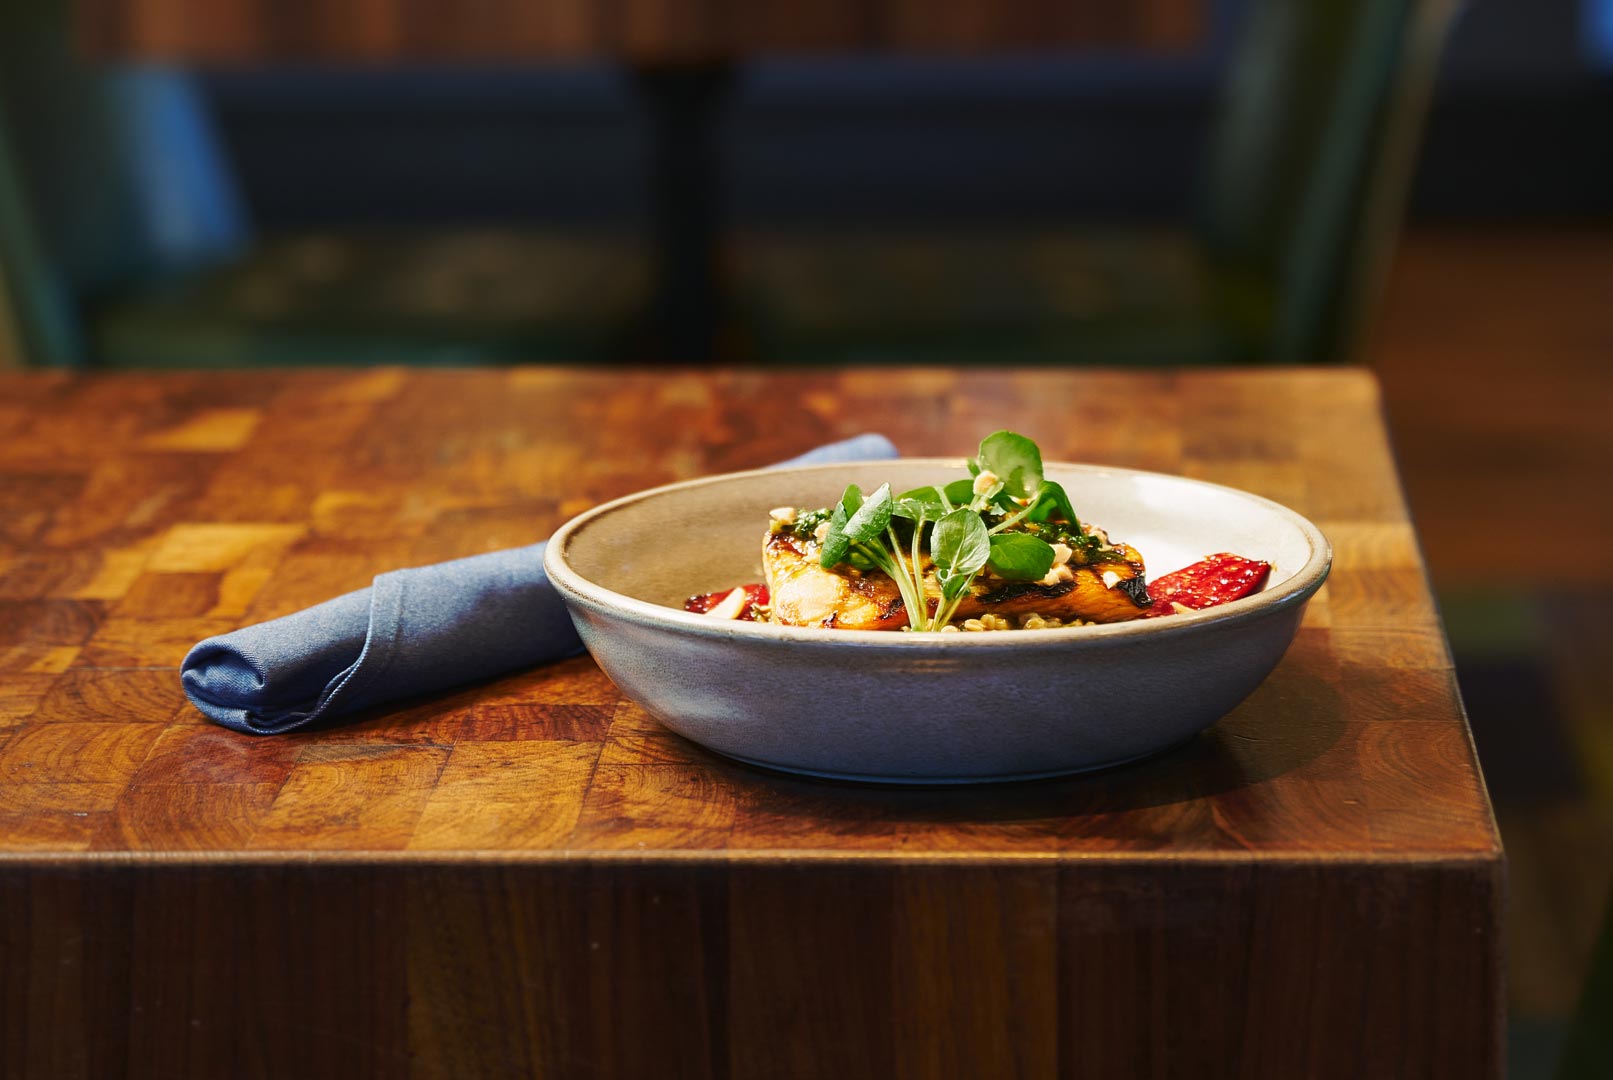
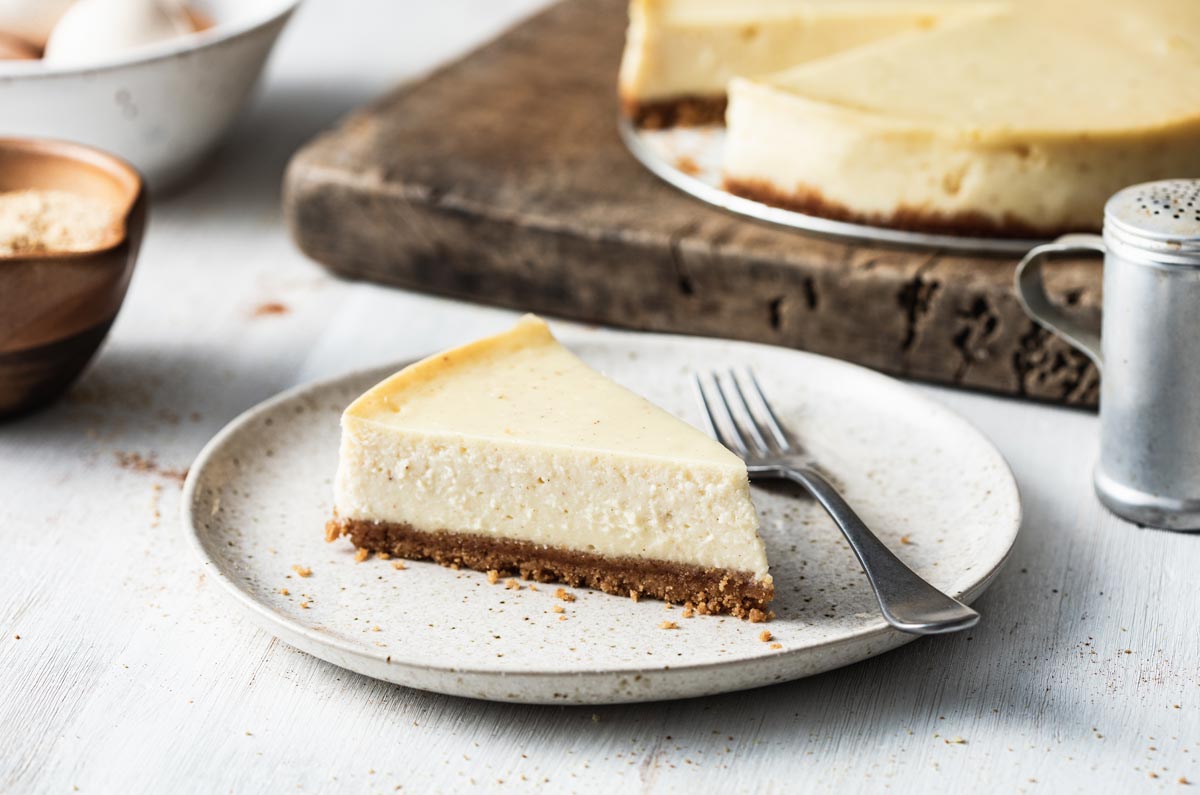
Many food photographers start their careers at their dining room table next to a window. That’s where I started. I wanted to create images for my blog and social media so I utilized the most popular available light in the world: the sun.
Natural light has its advantages as a light source for capturing images of food, namely that it’s free. And from a storytelling standpoint, the look of a naturally lit scene leads our viewer to believe what they’re viewing is inside a kitchen or dining room. It makes the image look relatable and believable.
Why I Moved to Artificial Lighting for Food Photography
A few years into my food photography career, I started to experience limitations shooting in natural light. I would feel anxiety on shoot days knowing I had limited time to capture my images. Timing is everything in food photography. It’s important to be able to shoot the food when it’s ready, at the perfect moment before things like ice cream start to melt, before garnishes wilt, or meats start to dry out. Moving to artificial lighting meant freedom to shoot any time and being ready to capture the food at its best.
I also started to take on bigger clients and bigger jobs and needed to be able to create consistency in my lighting over the course of several hours, days, and even weeks. The sun is beautiful, but she’s also unpredictable. I needed to be able to create a cohesive lighting look across multiple images in a campaign.
Choosing Artificial Lighting Gear for Food Photography
It was a scary step for someone like me who is not a highly technical photographer to leap into the world of artificial lighting. I felt overwhelmed by all of the different types of lights and how to operate them. Fortunately, my desire to tackle artificial lighting was greater than my fear. I ended up buying a lot of different lights and going through a lot of trial and error until I found what worked best for food photography. The way we light food is specifically unique compared to other types of photography lighting.
When it comes to selecting the lights and modifiers that I’ll use for a shoot, it depends on where I’m shooting and the scope of the shoot.
Artificial Lighting for Food Photography: Shooting at a Restaurant
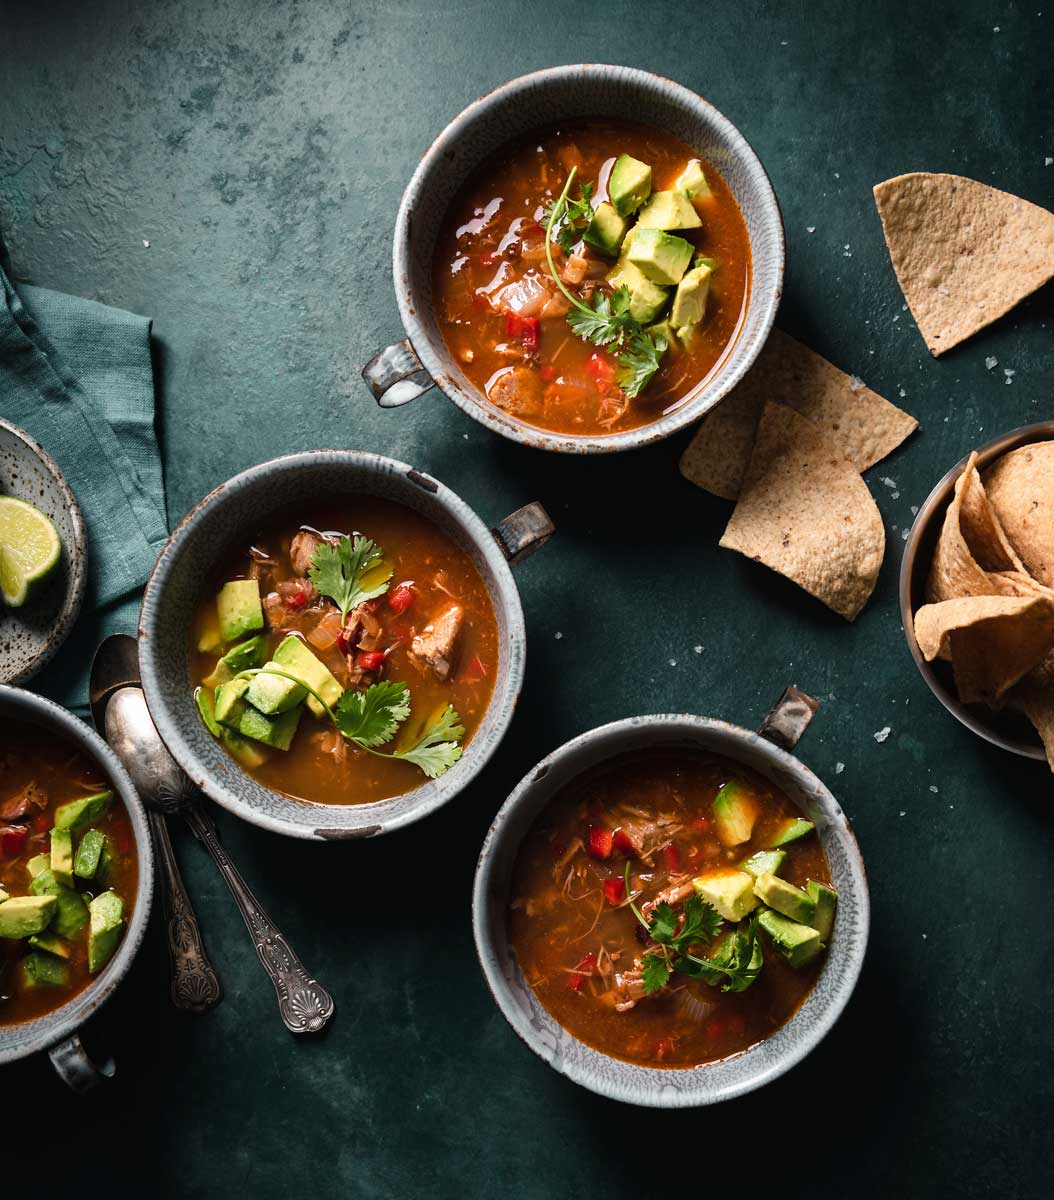
The restaurant environment is dynamic, fast-paced and many times requires a photographer to be flexible and good at problem solving. I pride myself in planning well for my photoshoots, but inevitably unexpected things happen in restaurants and it’s best to be prepared with gear that is equally flexible.
My standard packing list for a restaurant shoot includes a speedlight (plus another for backup in case) and a trigger for off-camera flash along with an easy to assemble umbrella style modifier, speedlight bracket, and light stand. The mixed lighting often found in restaurants doesn’t stress me out because I can use the power of flash to eliminate the ambient light and rely solely on the light from the flash to illuminate my scene. In situations where I want to combine the flash with the lights of the restaurant for atmosphere, I’ll use my color correcting gels.
The speedlight is my pick for most restaurant shoots because it packs a powerful punch in a small device. It fits easily into my camera bag and one is enough for most tabletop photography. It’s also easy to move around when I’m shooting in multiple places inside the restaurant. I can go from shooting food in the dining room to drinks at the bar and headshots in the kitchen without having to lug around heavy lighting equipment or worrying about power cords.
This is also the reason why I recommend umbrella style modifiers for restaurant shoots because they’re easy to transport to the location and assembly is quick. In terms of size, I like a modifier that’s approximately 40’’ to 50’’ in order to create soft, window-like, natural looking lighting.
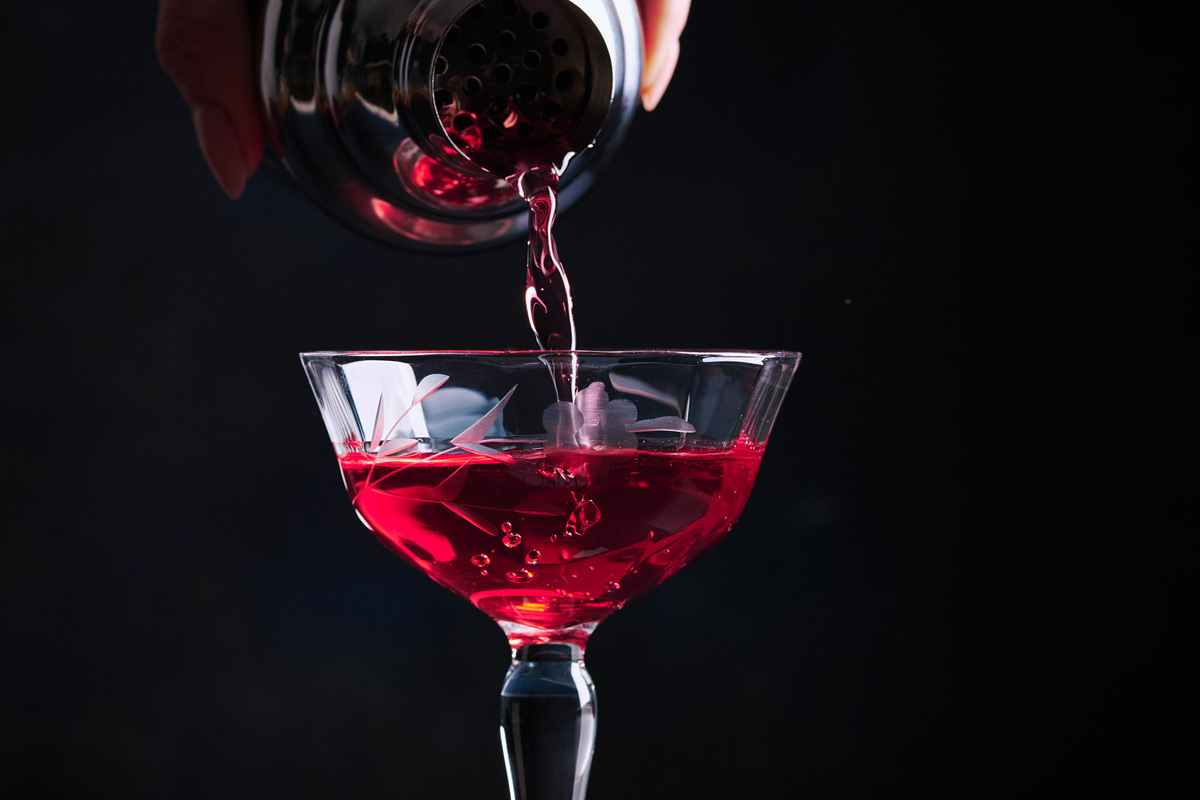
If I know that I’m going to be shooting drinks, I might also bring a strip softbox option to create nice clean highlights reflected in the glassware. A 1’ x 2’ is my personal go-to strip softbox for shooting on location and in studio.
Artificial Lighting for Food Photography: Shooting in Studio
Most of my shoots these days happen at my home studio. I primarily shoot for food brands and food-related products, capturing images for marketing collateral, websites, advertising and social media. I also shoot cookbooks and some editorial work.
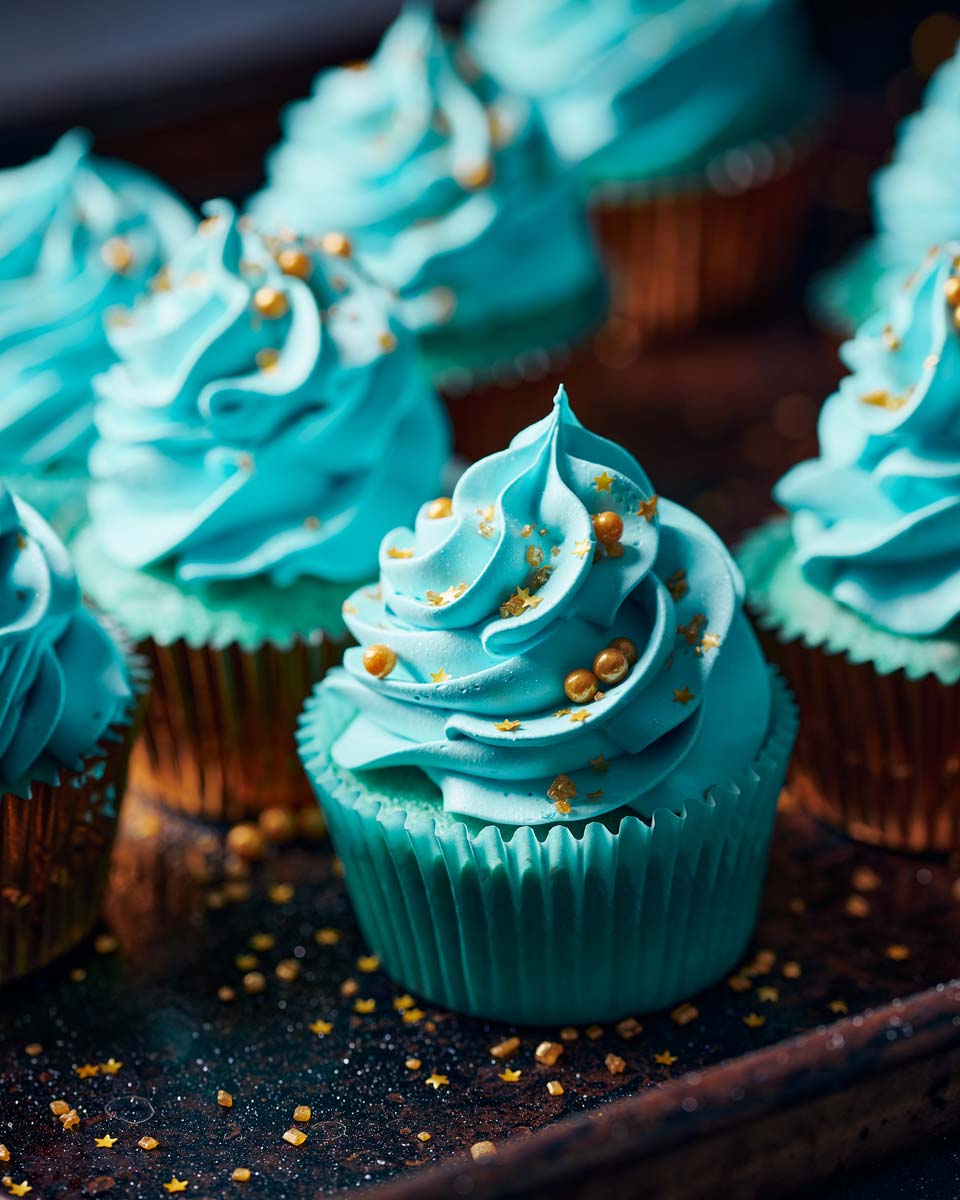
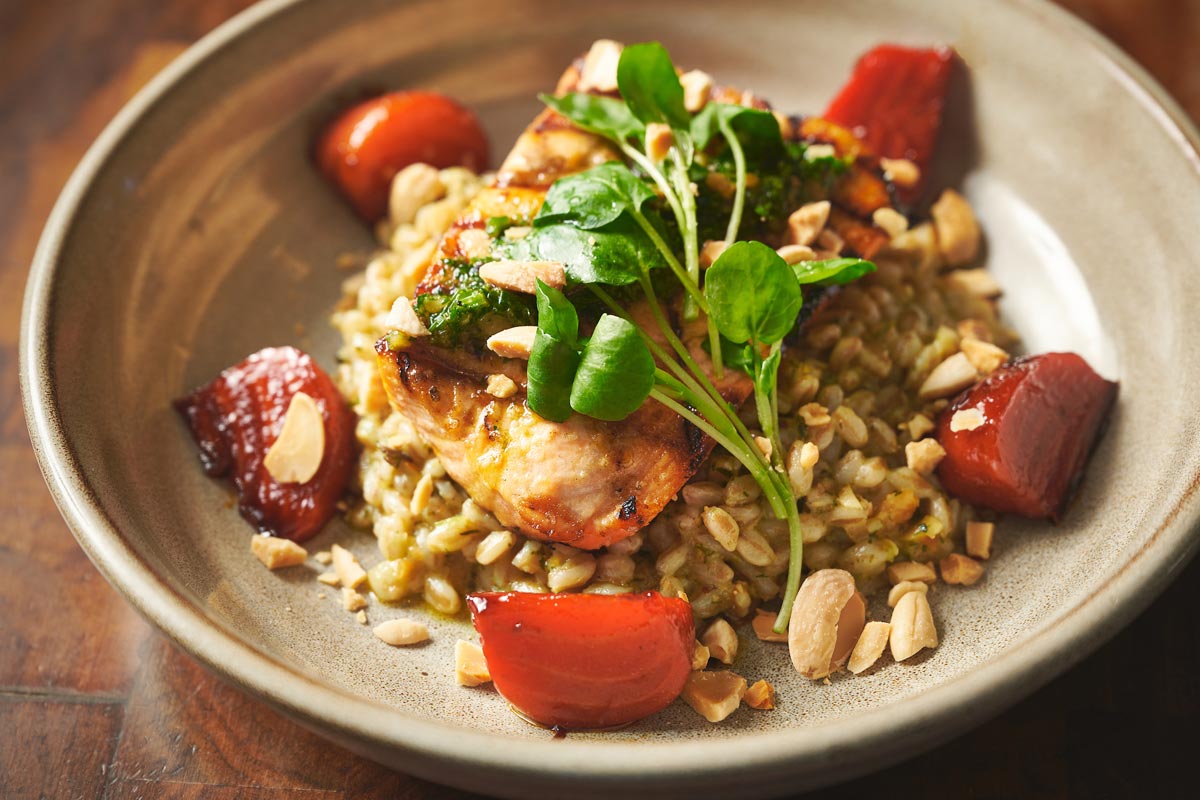
My favorite go-to for lighting in my studio is a monolight strobe like the Flashpoint XPLOR 600PRO. It’s a powerful light, and not overpowering for the lighting needs I have. It offers maximum flexibility to light everything from editorial style scenes shot at wider apertures to product focused images that require a wide depth of field and a lot of light. The short flash duration and speedy recycle times are also very helpful for when I need to capture action shots like pouring liquids or sprinkling garnishes.
And one of the things I love about a monolight is the ability to plug into AC power so that on long shoot days I can work without having to worry about changing or charging batteries. At the same time, the battery pack lasts for a long time and can go outside to the patio with me or to a location where power isn’t available.
When it comes to modifiers, I most often work with scrims that give me flexibility. I like to swap between soft lighting with full stop diffusion material to harder light with thinner quarter stop diffusion. I can play with the distance and height of the light relative to the scrim to create a wide variety of looks and moods in the highlights and shadows. Using scrims as modifiers does require some finessing and patience as you’re learning lighting, but they offer endless creative options.
I also like the ability to use Bowens mount softboxes with the XPLOR 600Pro. A large 31″ x 47’’ softbox will create a very natural looking window light look. A small 1’ x 2’ strip softbox is great for low-key dramatic lighting when used as the key light or as a kicker for product photography.
My favorite thing about working with artificial lighting is the range of flexibility and control it offers. Mastering it has given me the confidence to walk into any photoshoot and know that I can create the look I want with a few simple, powerful, tools.
Written by: Joanie Simon. Joanie is a food photographer, recipe developer and content creator. See more of her work @thebiteshot.
Feature photo by Joanie Simon