Bounced rim lighting is one of my favorite lighting setups. It only requires a single light and can give one subject a masculine rim light while giving the other subject a softer more feminine light. This makes it perfect for couples portraits and wedding images. In order to pull it off, there are a few tricks you need to know.
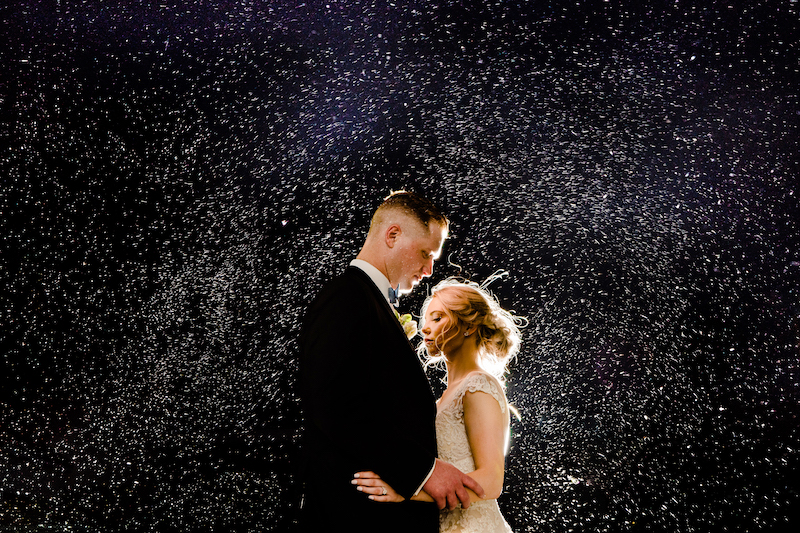
The intention is to have the single light source creating the rim around the groom. That same light is then bouncing off the groom’s face and lighting the bride. Because the groom’s face is essentially the light source for the bride, this bounced light is nice, soft, and flattering.
Now, let’s dive into the details.
The Light
The location of the light is important. Although, due to the nature of the setup, there is some wiggle room. It’s not like threading a needle, but more a set of guidelines for maximum success.
The first thing to know is that the light—more often than not—needs to be about the same height as the subject’s heads. The person’s head will be acting as a reflector. You can get away with the light being lower or higher, but you can run into situations where their shoulder can block some light if it’s too low. When placed too high, you can end up with an unwanted lens flare because you can’t block the light with the subjects.
This brings up the second step. This setup usually works best when you completely block the light. If you let the light flare, it causes such a hot-spot of light that the bounced light won’t be super noticeable or the flare will completely overtake the subject.
The light will need to be fairly strong. I use my eVOLV 200Pro in the higher ranges. This is because I usually have the light about 6-10 feet away from the subject. You need the light to be strong enough to travel that distance while still having enough strength to bounce from a person’s face to the other. If you are shooting a full length image and want the light to wrap around the full body, you might want the light further away. If not, you can get away with having it closer.
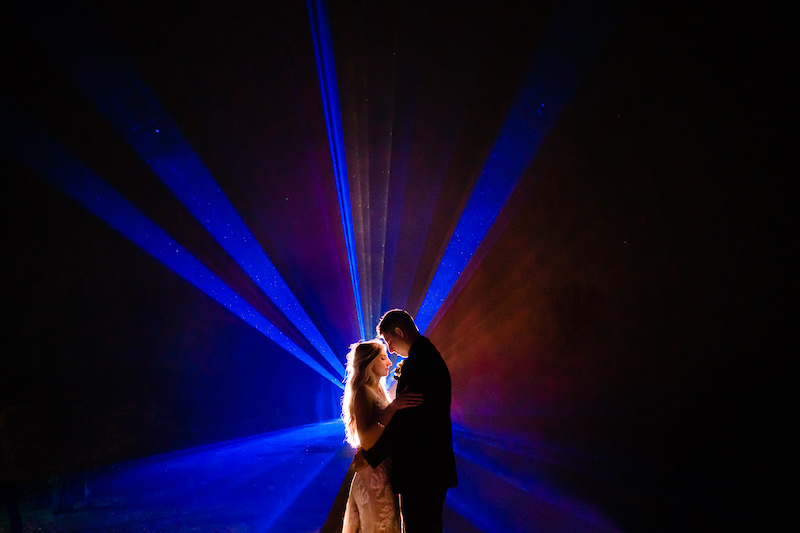
Lastly, there is the color of the light. I usually like to throw a CTO gel onto my light. This isn’t needed, but I feel like the color adds a bit more interest to the image. This setup can sometimes give you that recreated sunlight feel, so the color helps sell that when applicable.
The Pose
After you have your light set, the only thing you will need to fine-tune is the pose. If you have the subjects simply look at each other, then you will have both with a nice rim light. Most of the time, I’ll actually shoot this setup first as I’m setting up the light and getting things dialed. I’ll then get their pose set so we can do the bounced rim look.
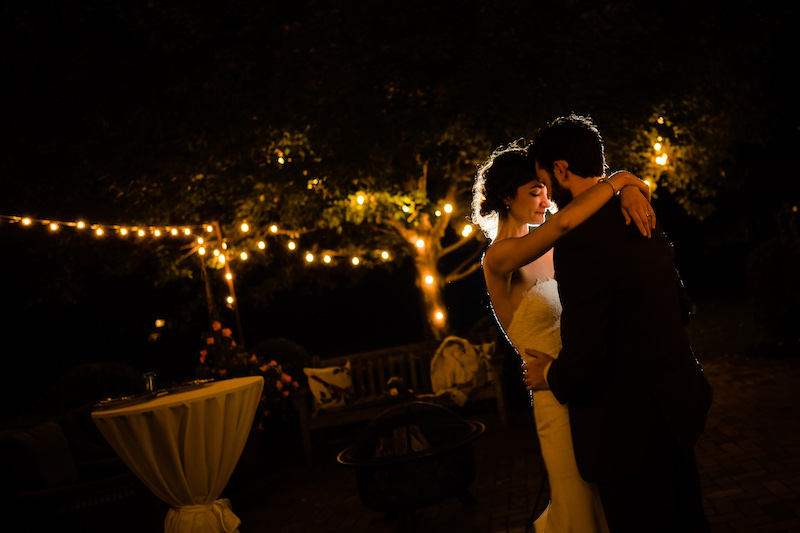
First, I have the person that will have the rim light take a small step away from the light. What I usually tell the bride is to straddle over the groom’s foot that is closest to the light. What this does is give them a bit of separation so their faces are not on the same plane while also getting the bride between the groom and the light so it can bounce back.
Next, we need to have their faces pointed in the right direction. We need the groom’s face to bounce the light in the right direction, but we also need the bride’s face in the right location to receive that light. I tell the groom to look straight to the left or right of where I’m shooting. I essentially want his full profile. From there, I have the bride turn her face so she can see the groom’s ear and then put her eyes down. The idea here is that if she can see his ear, then that entire side of his face will hit her with light. I then want eyes down so that she isn’t awkwardly looking at his ear.
There may be some small tweaks you need to make so that you can see the groom’s full profile while also seeing the bride’s full face. And although this is a great setup for portraits, it’s also one that I will use a lot for first dances. The way couples dance and look toward each other during a slow dance fits this setup very well and it can give your dance images a more dramatic feel.
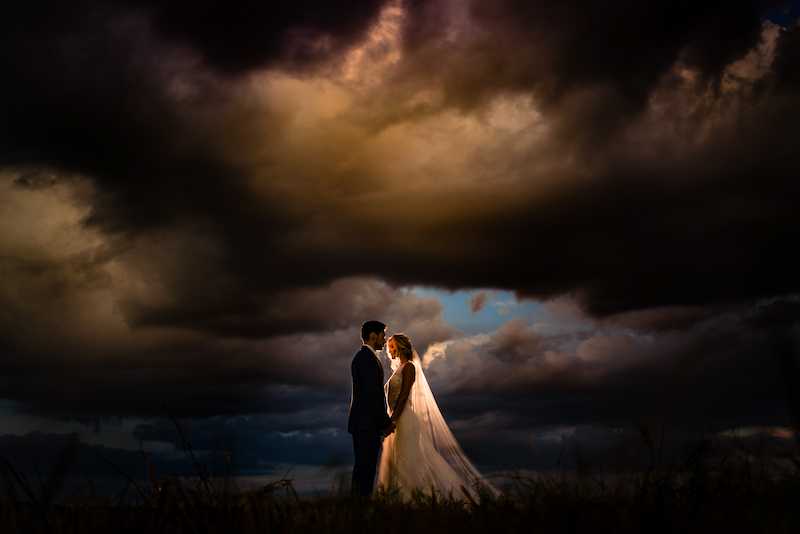
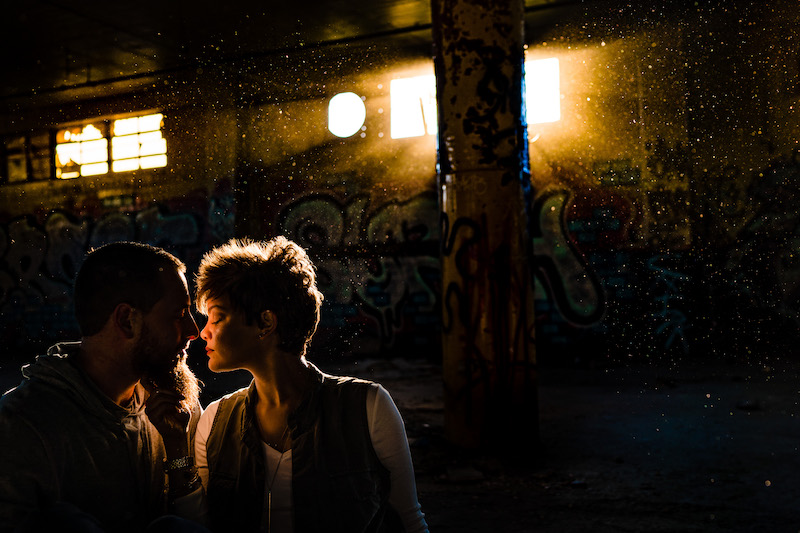
Lastly, while this walkthrough has been centered around setting up your own light, this is also achievable with natural light. All it takes is the sun coming from the right angle. I also like to try and frame my subject against a darker background to make things pop a bit more like the below example.
Give this a try and tag #Flashpointlighting and @VinsonImages_Jason to show us your photos.
Written by Jason Vinson
Feature image by Jason Vinson