These days, my bread and butter as a photographer is almost exclusively portraiture. This includes editorial portraits, headshots for businesses, or creating educational content through open-concept portraits. Occasionally, I get a request from a client for some type of product work. Over the past couple years, I have photographed a number of vehicles under the local branch of Chevy. Here’s what I’ve learned while shooting car advertising photography.
These car shoots are rather unique given that my business is just outside the Motor City. These photoshoots aren’t the national vehicles campaigns, nor are they documenting a single dealership’s inventory — it’s somewhere in the middle. I am typically capturing images of new vehicle releases alongside a video production for digital advertising purposes.
As I’ve done this, I’ve had to build a workflow that is lightweight and quick (to minimize the distraction from the video production), yet still delivers clean results in unpredictable environments. Let’s go over what you need to know to accomplish this.
Reflections
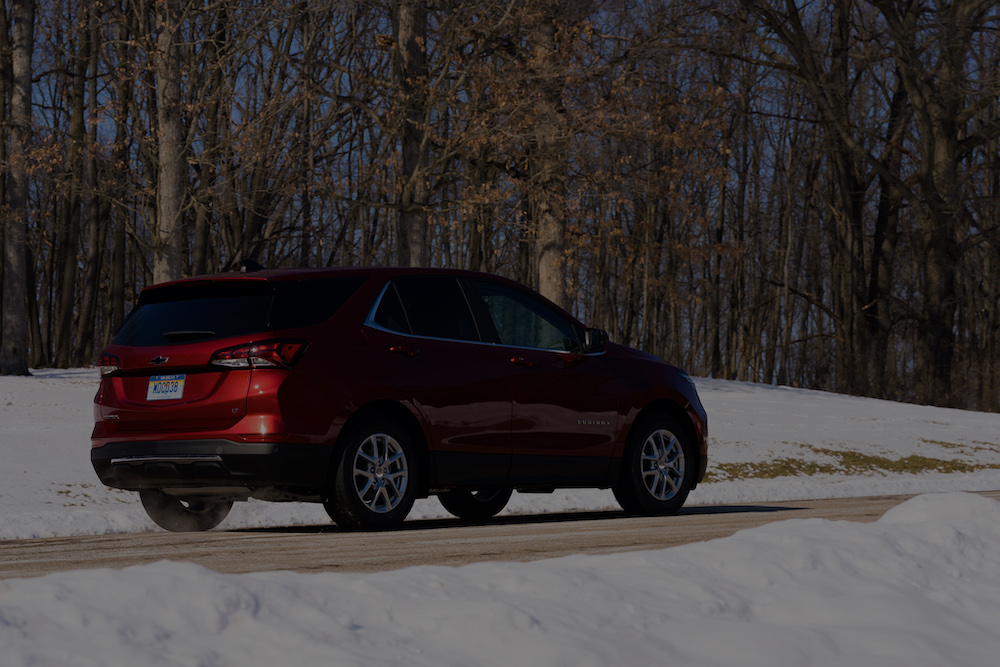
The number one issue in car photography is reflections, especially when you’re in daylight conditions outside. Reflections can really break up the body of the car, making it hard to distinguish the styling of the vehicle. Depending on what is reflecting, it can also make it difficult to see the true paint color.
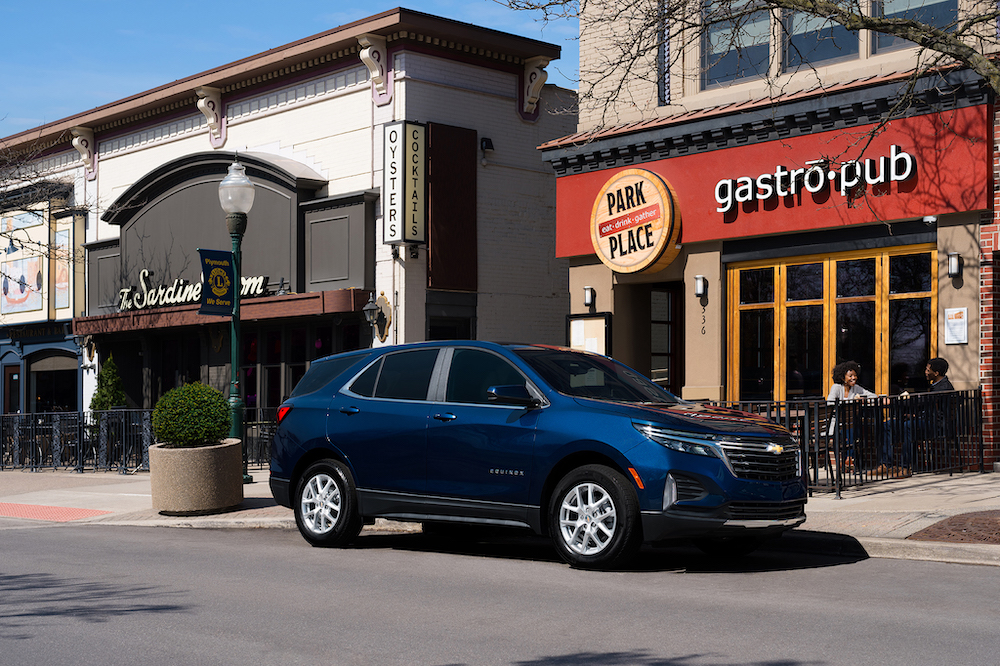
In the above image, you can see that the passenger side of the vehicle is in a cast shadow. Not only does this mean there’s a split color cast (daylight hitting the rear, shade hitting the passenger), but the dark side is far more susceptible to the environment reflecting in the paint. This makes the car look a much deeper color than it really is. It also hides the body of the vehicle, and has very distracting reflections.
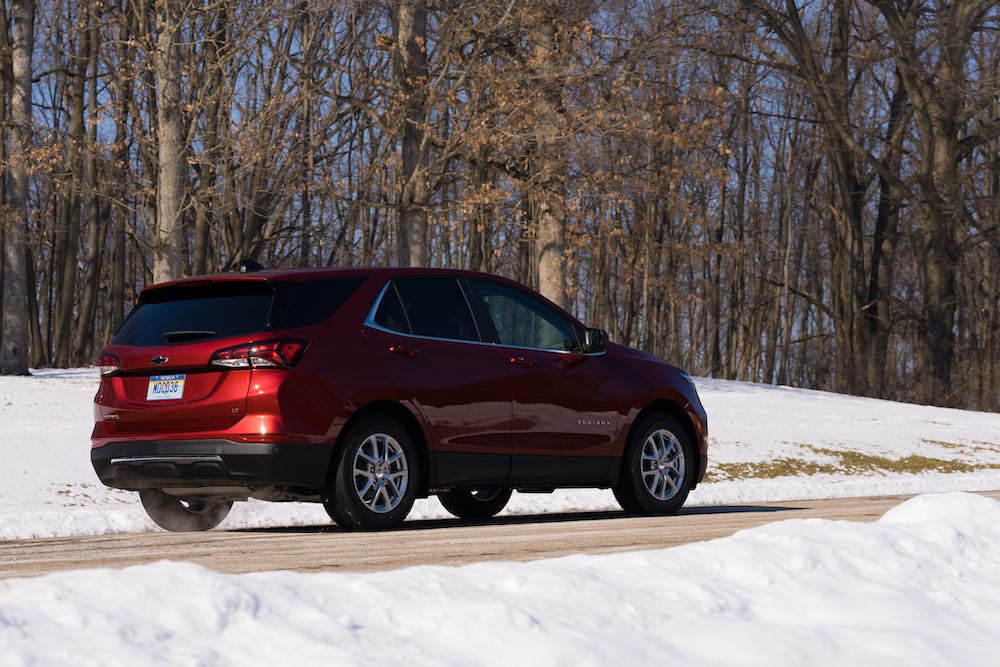
An all-natural fix here is to make sure the side of the vehicle you are photographing is being lit directly by the ambient light. The more light that hits it, the less visible any reflections will be. In this shot, the lines of the car body are far more clear.
Circular Polarizing Filter
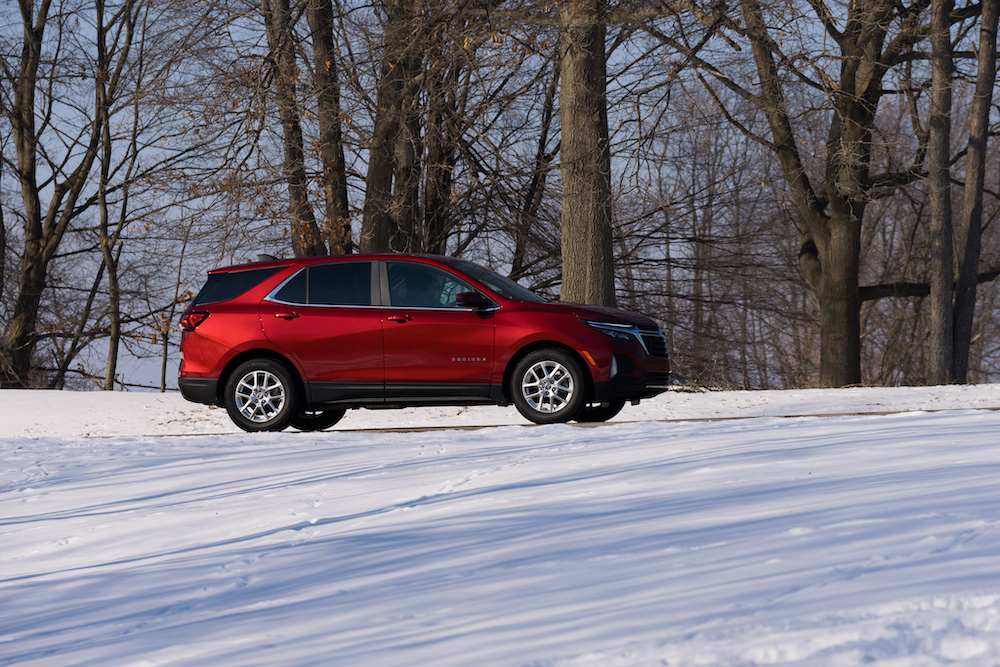
The best compositions won’t always be with the sun illuminating the visible portion of the vehicle. That’s why it’s important to have a circular polarizing filter in your kit. With this filter, you can adjust to reduce or eliminate glare and reflections across the vehicle.
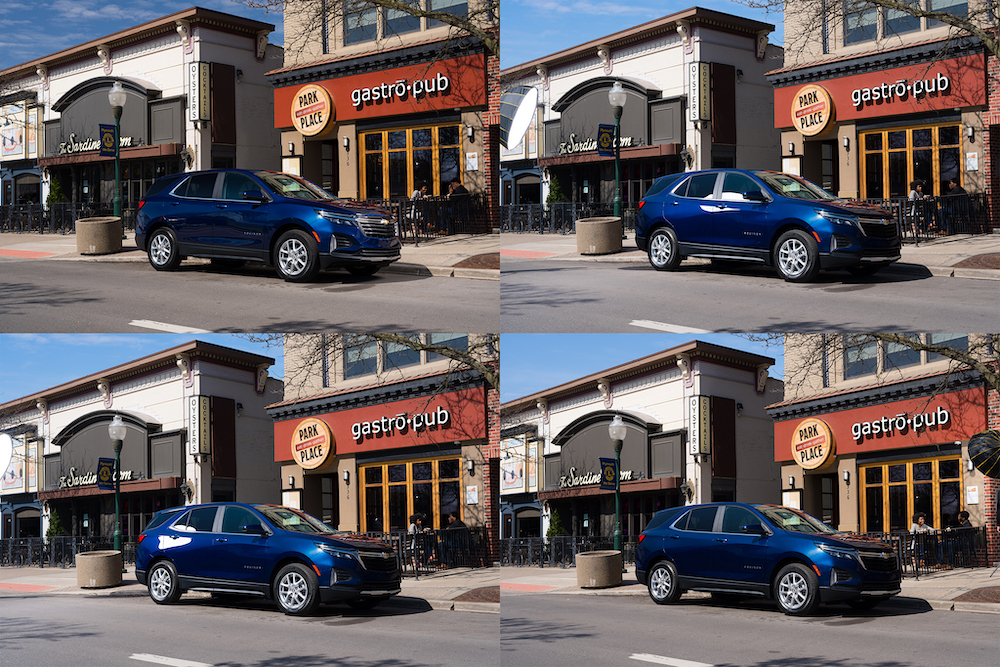
The above photo shows the same camera settings and lighting conditions, but with a circular polarizing filter in two different positions. You can see that by altering the position, the intensity of the reflections is significantly diminished.
Compositing
Because the circular polarizer requires rotating it to eliminate reflections at different angles, I often find myself capturing multiple images and bringing them together in post via masking.
Lighting
To make sure the paint has its shine, and that the vehicle stands out, I began adding off camera flash to my composites. I would typically use the flash to acquire 2-3 frames with light hitting various parts of the vehicle, such as the front end and visible side. Then I would add another frame for lighting the talent as well.

The first combo I used was the Xplor 1200 Pro with a Glow 42” Beauty Dish softbox. While this provided an even quality of light, it often led to some very large reflections on the car that made compositing more difficult.
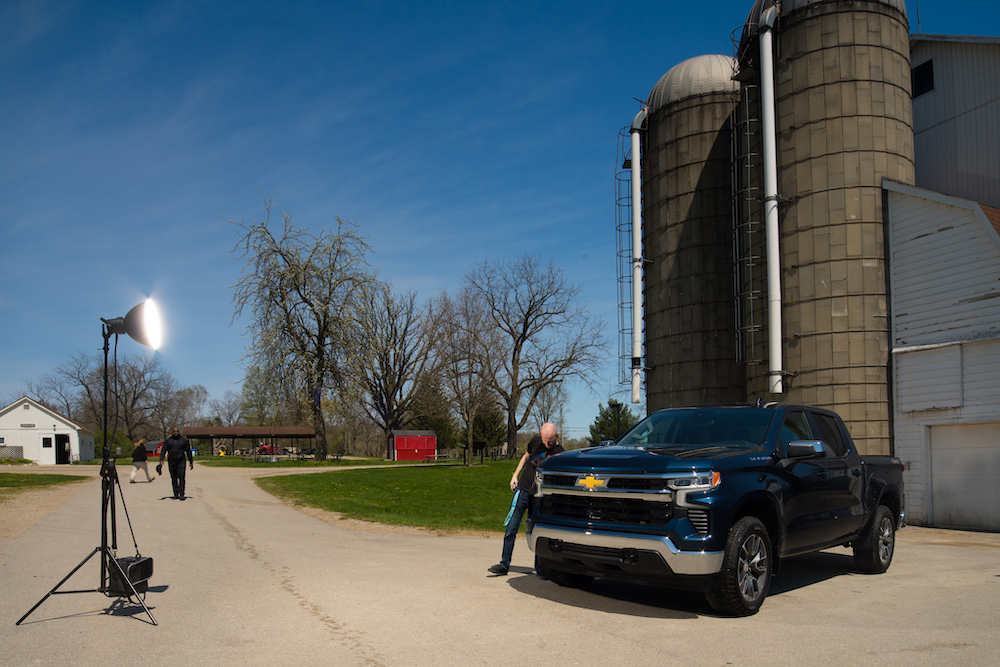
On my last shoot, I switched to the Glow Magnum Reflector with diffusion. This not only reduced the size of reflections from the off-camera flash, but also allowed for much lower flash outputs.
Bringing it all Together
My current workflow for these projects is as follows.
- Identify framing of environment, vehicle, and talent.
- Lock camera off on tripod, turn off lens and body stabilization.
- Identify ambient settings and flash power, and manually focus.
- Reduce reflections via circular polarizer. Fire flash at visible sides of vehicle.
- Review all windows and panels for reflections to ensure clean composite assets are available.
- Position and light talent in separate frame.
- Select the necessary images for post-production.
- “Load files via stack” in Photoshop and exposure blend the images together.
- Do any additional retouching.
This type of workflow has a lot of post-production to overcome the challenges created by working outside of a controlled environment. By attempting these processes, I have gained an immense respect for the quality that larger car advertising photography campaigns produce.
Article and Photos by Rob Hall