
Sometimes, I see an amazing image only to realize that the main element that is drawing me in is the location. From epic waterfalls in Iceland to glass top ponds in a jungle, the locations we choose as our backgrounds can really make or break an image. The problem comes when we don’t have access to these amazing areas. If you are anything like me, a wedding photographer based in Northwest Arkansas, then you probably don’t. In reality, most photographers are grinding away in less than ideal areas. So, what is there to do?
The trick is to learn how to make the best of any location. When I was first learning the ropes, I found that epic lighting gave me the same feeling of awe as images with epic locations. I dove headfirst into what I could do in order to maximize my use of natural light as well as create my own light when needed.
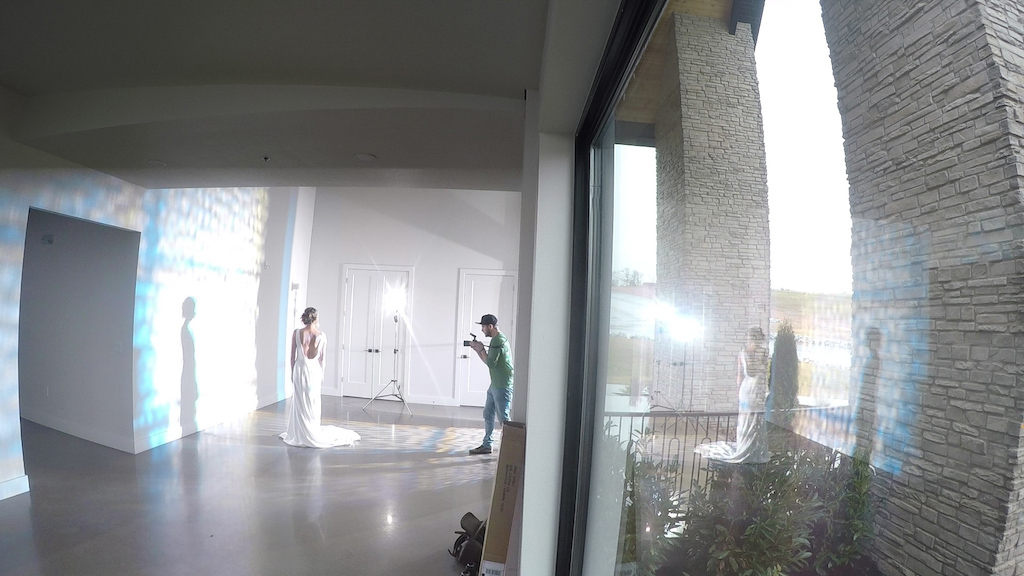
What I found was that light with complementary colors and interesting texture would always draw my eye. I’m always on the hunt for ways to incorporate those elements into my work. Because of that, I thought it would be fun to share a quick and fun image deconstruction with you all. What we have is a nice blank wall with lots of amazing natural light.
But, what I have behind me is a giant glass door. Now anytime I see glass, especially glass with texture or haze, I think through what it could look like if I fire some light through it.
I set up one Flashpoint eVOLV 200 Pro outside at full power with a full CTO (color temperature orange) gel. I then aimed it so it fires through the glass in order to cast the texture onto the blank wall.
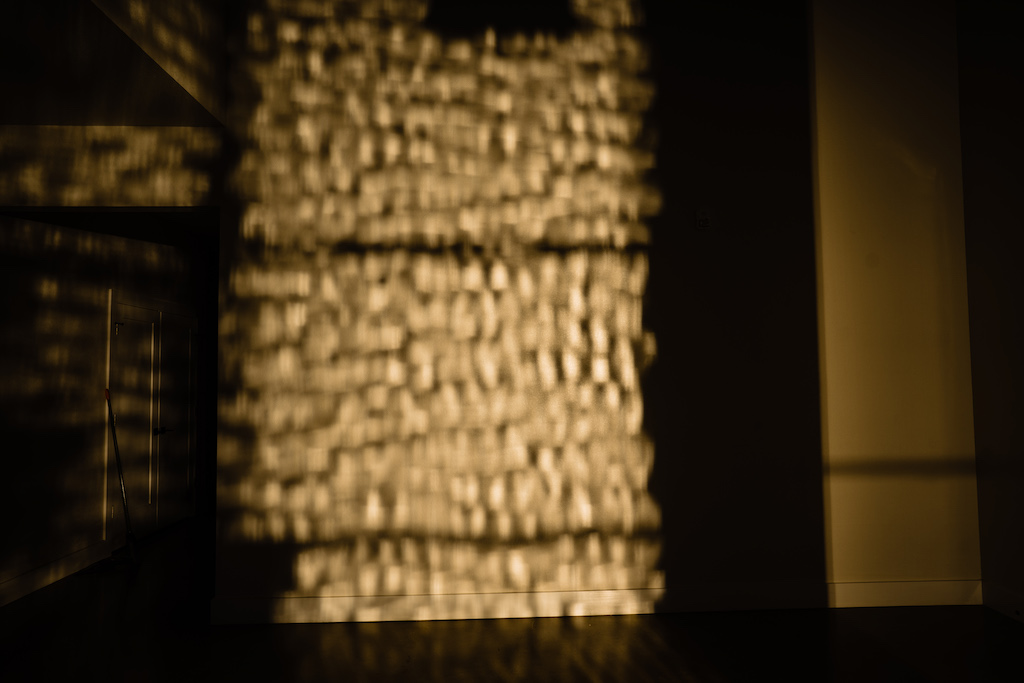
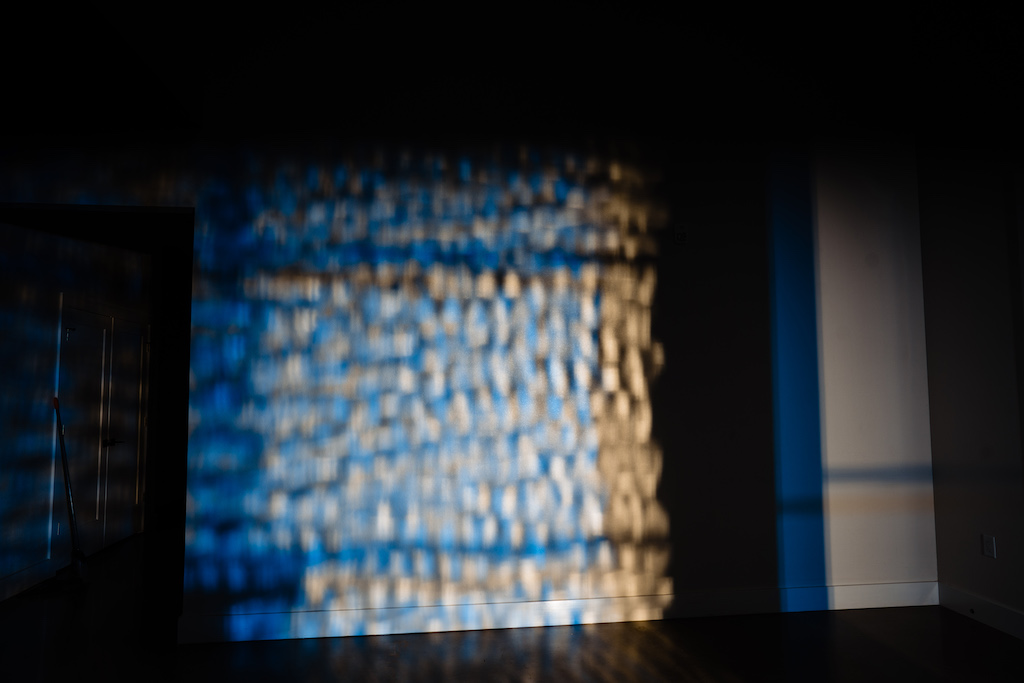
What we have here is some pretty cool texture, but I wanted to take it a step further. So I placed one more Flashpoint eVOLV 200 Pro right next to the first light. Although, for this second light, I have a full CTB (color temperature blue) gel attached. The idea here was to add some dimension and color.
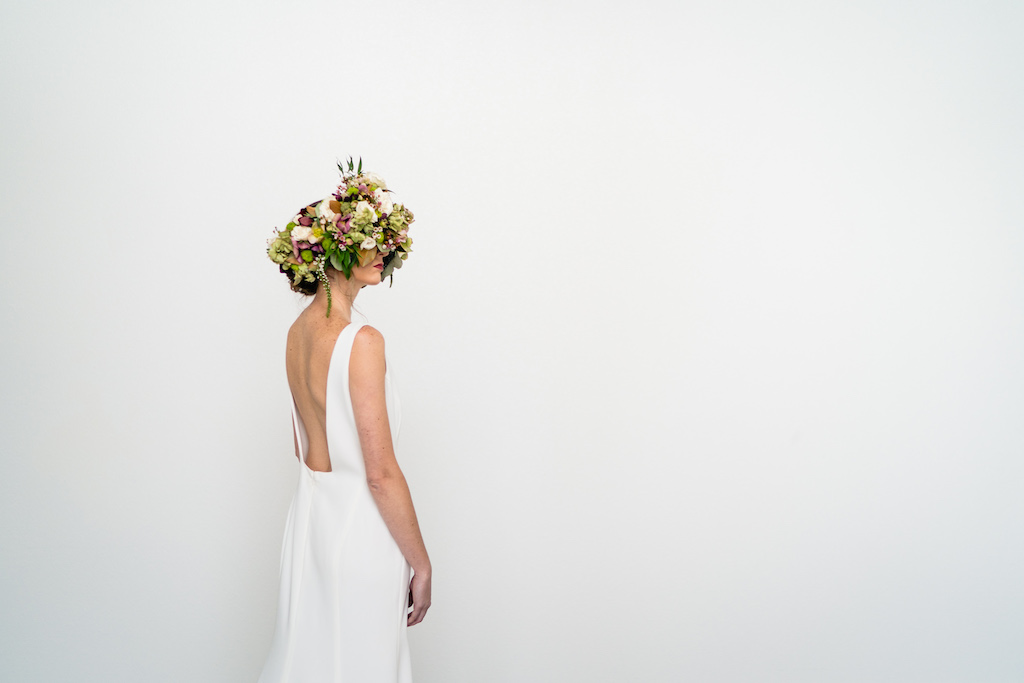
From here I just started playing with framing and composition. I took a few frames with the headpiece/crown and then some without.
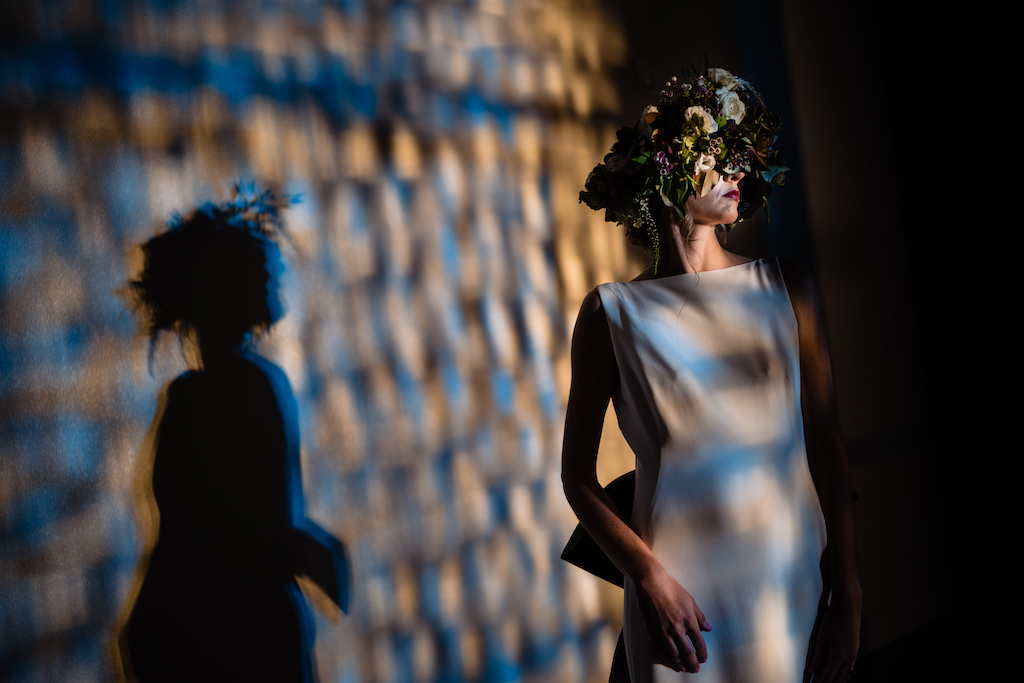
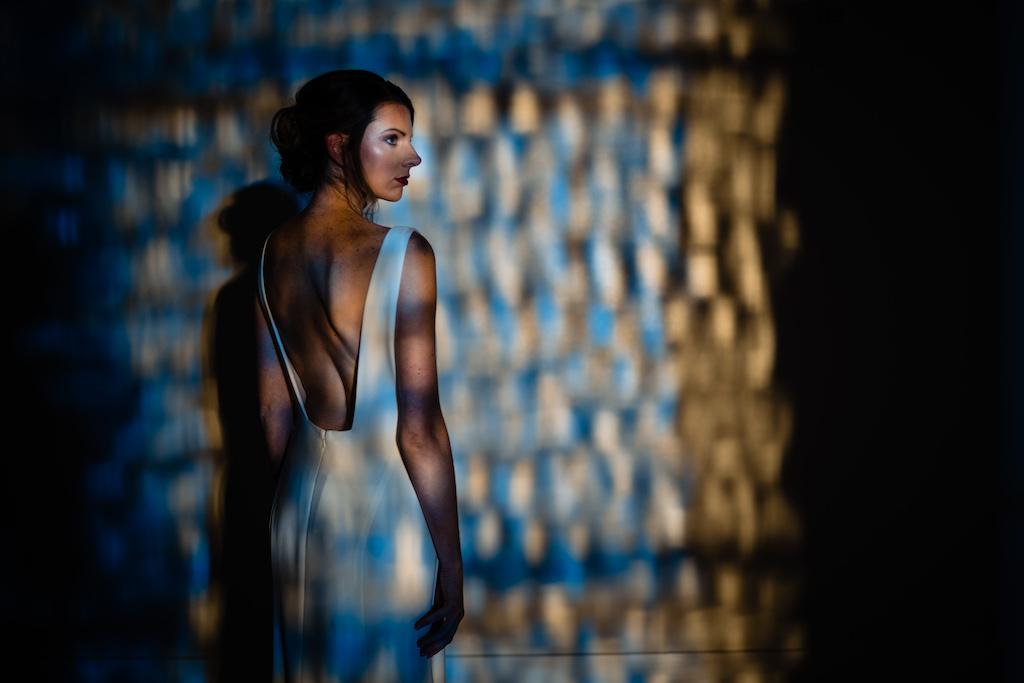
At this point, all the images are simply using the two lights outside the door. The top two I’m purposely framing the bride within the dark area. In the third image of the set I had her remove the headpiece and placed her so that a spot of light landed right on her eye.
Now, to try and take it a step further, I brought in one more Flashpoint eVOLV 200Pro to light the bride a bit better and remove some of the texture from her face. I placed one grid on this third light to only light her face as well as keep any of the third light off the wall. If any of the light from this third light hit the wall, it would make the pattern and color look washed out and less noticeable in the areas the light hit.
To give you a better idea of what exactly this third light is doing, below is an image where I turned off the two lights outside.
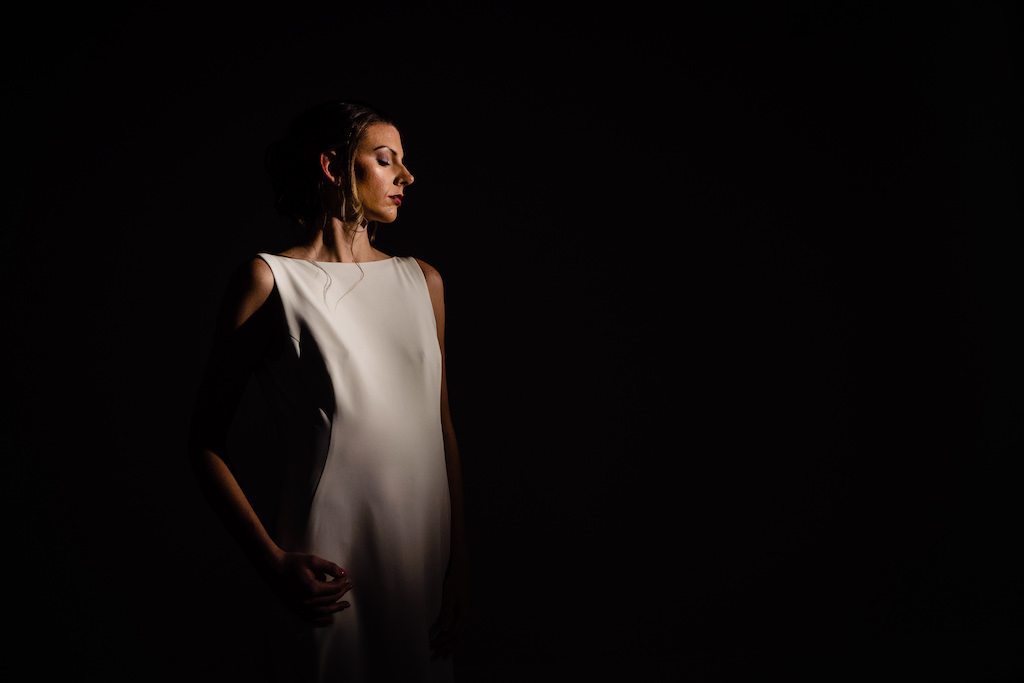
Once I got the image into Lightroom, all I did was add my preset and adjust exposure. There are no weird or unseen editing techniques for the final results.
As you can see, we didn’t have an epic location to work with. All we had was a blank wall that was near a door. But by having the ability to create our own light, we were able to create something interesting. If you are like the majority of photographers that don’t have the ability to always shoot in dreamy locations, then stick around the Flashpoint Creator Blog to sharpen your lighting skills so you can make epic images anywhere you go.
Article and Photos by Jason Vinson